John from Art East Quilting Co. ~ Weekend Takeover
Hi Quilt Folk!
John here from Art East Quilting Co. I am a maker, designer and artist living in Halifax, Nova Scotia. I quilt, write quilt patterns and create animal portraits. My quilt patterns are sold online in my Etsy shop and in quilt shops across Canada, the US and soon to be Australia!
I have always appreciated the quirkier things in life, and I hope that comes across in my work. I am thrilled to be taking over the Canadian Modern Quilt Collective Instagram this weekend, as I share some of my favourite past projects and quilt patterns. I invite you to follow me on Instagram, @arteastquiltingco, and check out my website, www.arteastquiltingco.com, for a full listing of my available patterns and information on my upcoming Deep Dive Quilt Sew-Along!
My patterns are all traditionally pieced and range in skill level from beginner to advanced, so there is something for every body! I am often asked for my best tips on completing an Art East Quilting Co. pattern, so I have narrowed it down to three:
1 - Label your pieces as you cut
This one is pretty self explanatory. I can’t tell you how many times I think I can beat this rule and how many times I wish I hadn’t tried! This will save you headaches, maybe even heart ache.

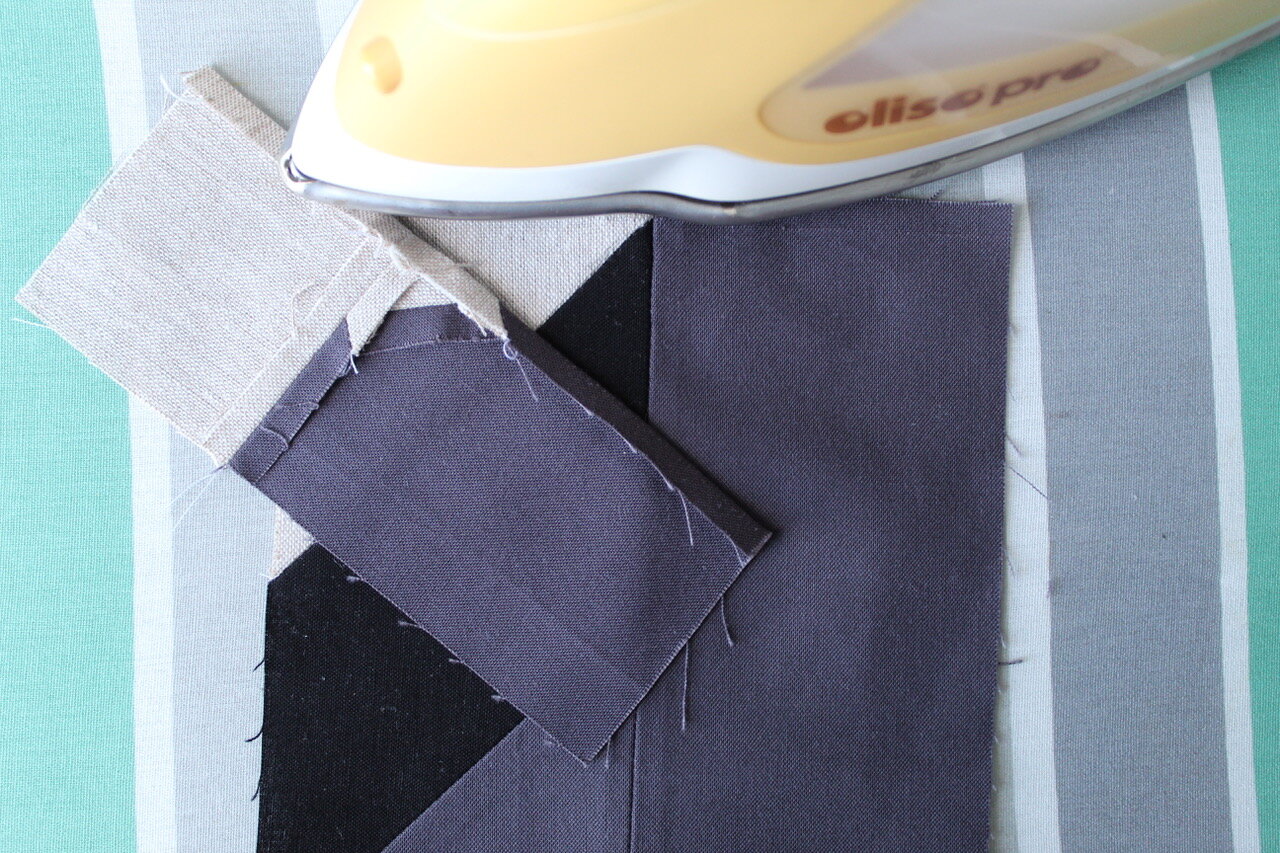
2 - Get acquainted with the Stitch & Flip Technique
The Stitch & Flip Technique is used to give shape to square and rectangle pieces by dissecting their corners with a different fabric, as shown below. This is actually quite a simple technique that can make it possible to depict almost anything on a quilt top!

To do the Stitch & Flip Technique, place the piece you wish to stitch & flip in the corner of the larger piece you intend to join it to, right sides together. Draw a line from one corner to the other, in the direction you intend your final seam to appear, and stitch directly on that line. Once stitched, trim the excess fabric 1/4” away from your stitch line on the side closest to the corner. This will become your seam allowance. Flip over your fabric and press the seam open to complete…that’s it!
3 - Learn to Point Match
Point matching is when you sew two units together that have a specific point that needs to line up, as seen in the photo below.


This is how I do it:
Fold over 1/4” (your seam allowance) of one of the units along the edge that you will be stitching.
With the edge folded over, line up that unit to the edge of the other unit where you will be joining them together. Since your 1/4” seam allowance is folded back, this allows you to see exactly where these two units will line up on the seam. If the points you wish to match do not line up, this allows you to adjust the position of the points as necessary, simply by adjusting the positioning of your pieces over.

You may pin the point in place (or pinch, if you are an avid non-pinner, such as myself) to hold them together. I will often just sew the seam in the area where the points match, about 1” leading up to the point and 1” beyond the point. This way, if the points don’t end up matching well enough, I only need to unpick a small area of stitching as opposed to an entire seam. If the points do line up, I simply stitch down the entire seam, sewing over me pre-sewn area.


Those were my top three tips for completing an Art East Quilting Co. pattern. Hopefully you have learned something you can apply to your sewing, or maybe you are inspired to try out one of my patterns for yourself!! If you do, feel free to share it with me via Instagram, Facebook or email. I love to see your work! Also, keep an eye our this weekend for a pattern giveaway on the Canadian Modern Quilt Collective Instagram account!
Happy Sewing!
JOHN